It really does take a Village to raise a child!
I’ve often mentioned in my blog posts in passing that I teach in a ‘Village’. This year, my Village consists of 66 learners and 3 Educators. I’ve never really explained just what that actually means though. My activity from St. Dominic’s Day this year gives me the perfect opportunity.
At Our Lady of Grace School, we teach in Villages. I teach in the Year 4/5 Village – currently the highest year level at our school. There’s also a Village for Year 2/3 learners, and one for R/1 learners (R stands for Reception – a uniquely South Australian term for what other states call ‘prep’ or ‘foundation’.)
Working in a Village is a wonderful experience. I get to work closely with two other Educators, and we can rely on each other when we’re having a bad day, off sick, to bounce ideas off, to have each other’s backs – basically to look out for each other. Teaching can be an isolating job. Between teaching and yard duties, I used to be able to go an entire day with barely a word to another adult. There’s nothing better than being able to catch the eye of a colleague across the room and grin when something goes well!
The benefits aren’t just for the adults in the room though. Our learners benefit too. Educator off sick? That’s ok – there’s still going to be two other Educators in the room that understand individuals, learning needs, social needs, friendship worries and family concerns. Haven’t really connected with one of the Educators yet? That’s ok – there are two other different personalities in the room too. Need a bit of extra support/ extension? There are three adults to go around!
We maintain strong links between Villages too. Buddies, Junior Primary Fitness, Junior Primary Reading, Minecraft Club, Whole School Circle Time – all are Inter-Village events.
In honour of the Feast of St Dominic we had whole school rotations. I teamed up with an Educator from the R/1 Village. We began each rotation with a rendition of Bruno Mars’ “You Can Count on Me,” and then split the group in half. Half added musical instruments to the song, and half came next door with me to add their hand to our school tree, before swapping. I’m pretty pleased with the overall result of the tree – if I do say so myself.
It takes a Village to raise a child – and I wouldn’t have it any other way!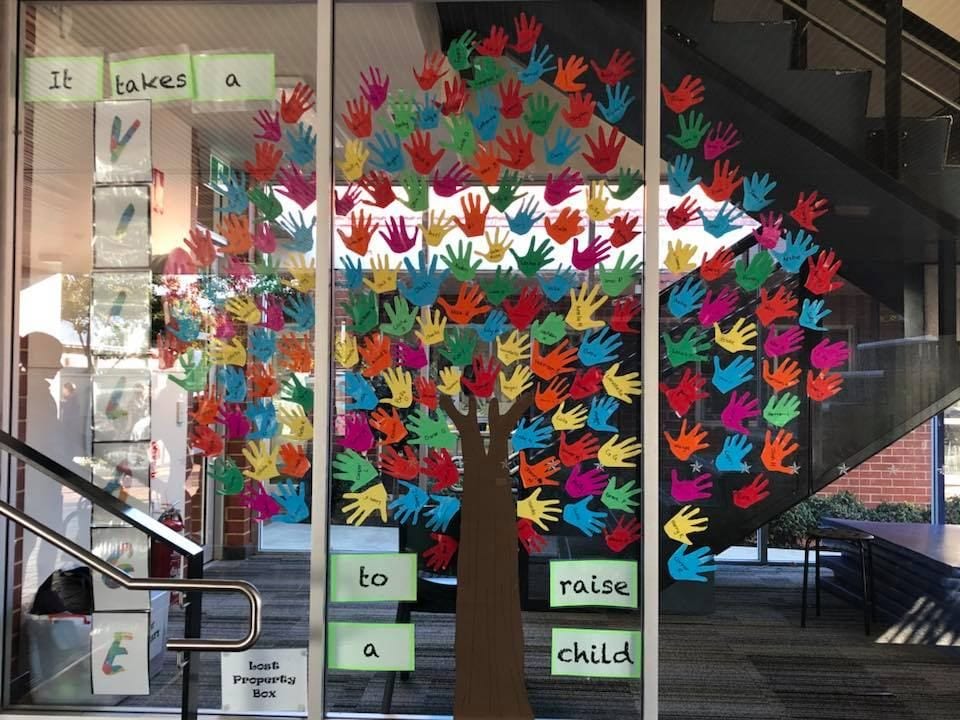

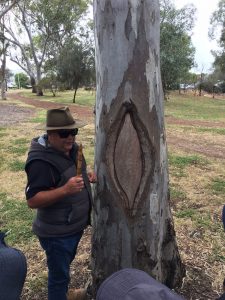
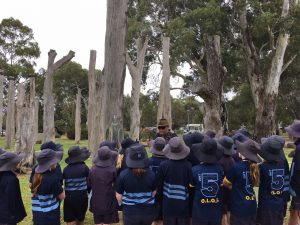 We organised the tour as part of our work that we’re doing this term on Pope Francis’
 A great day out, and we can recommend it to anyone in the Southern Adelaide region.

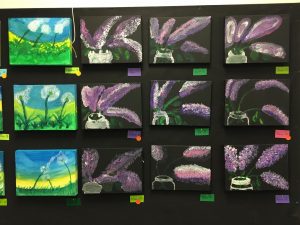
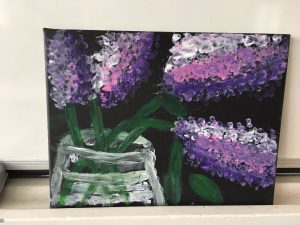

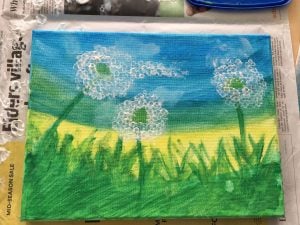
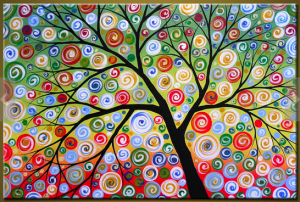
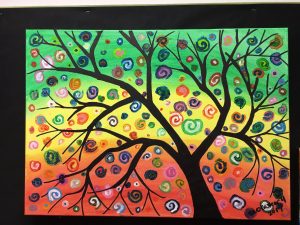
 Of course, it felt as though we did nothing but art in the lead up to the Spring Fair, much to the delight of the learners. But, I got the last laugh, as I managed to get an art assessment, reflection and procedure writing out of them! Since the collaborative pieces didn’t come with instructions – we were simply going off a picture, we had lots of great discussion about how to build the artwork up in layers (we learned all about layers by doing the individual artwork). Here’s a sample of one of the Year 4’s efforts. (Just in case you want to have a go at painting it in the future!)
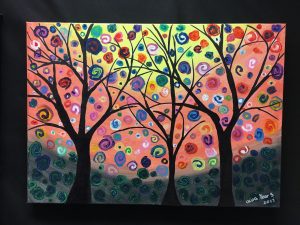